Demo Vehicles and Simulator
Overview
In order to test the Platform and/or your integration with Otonomo, we provide a demo vehicle fleet along with a simulator.
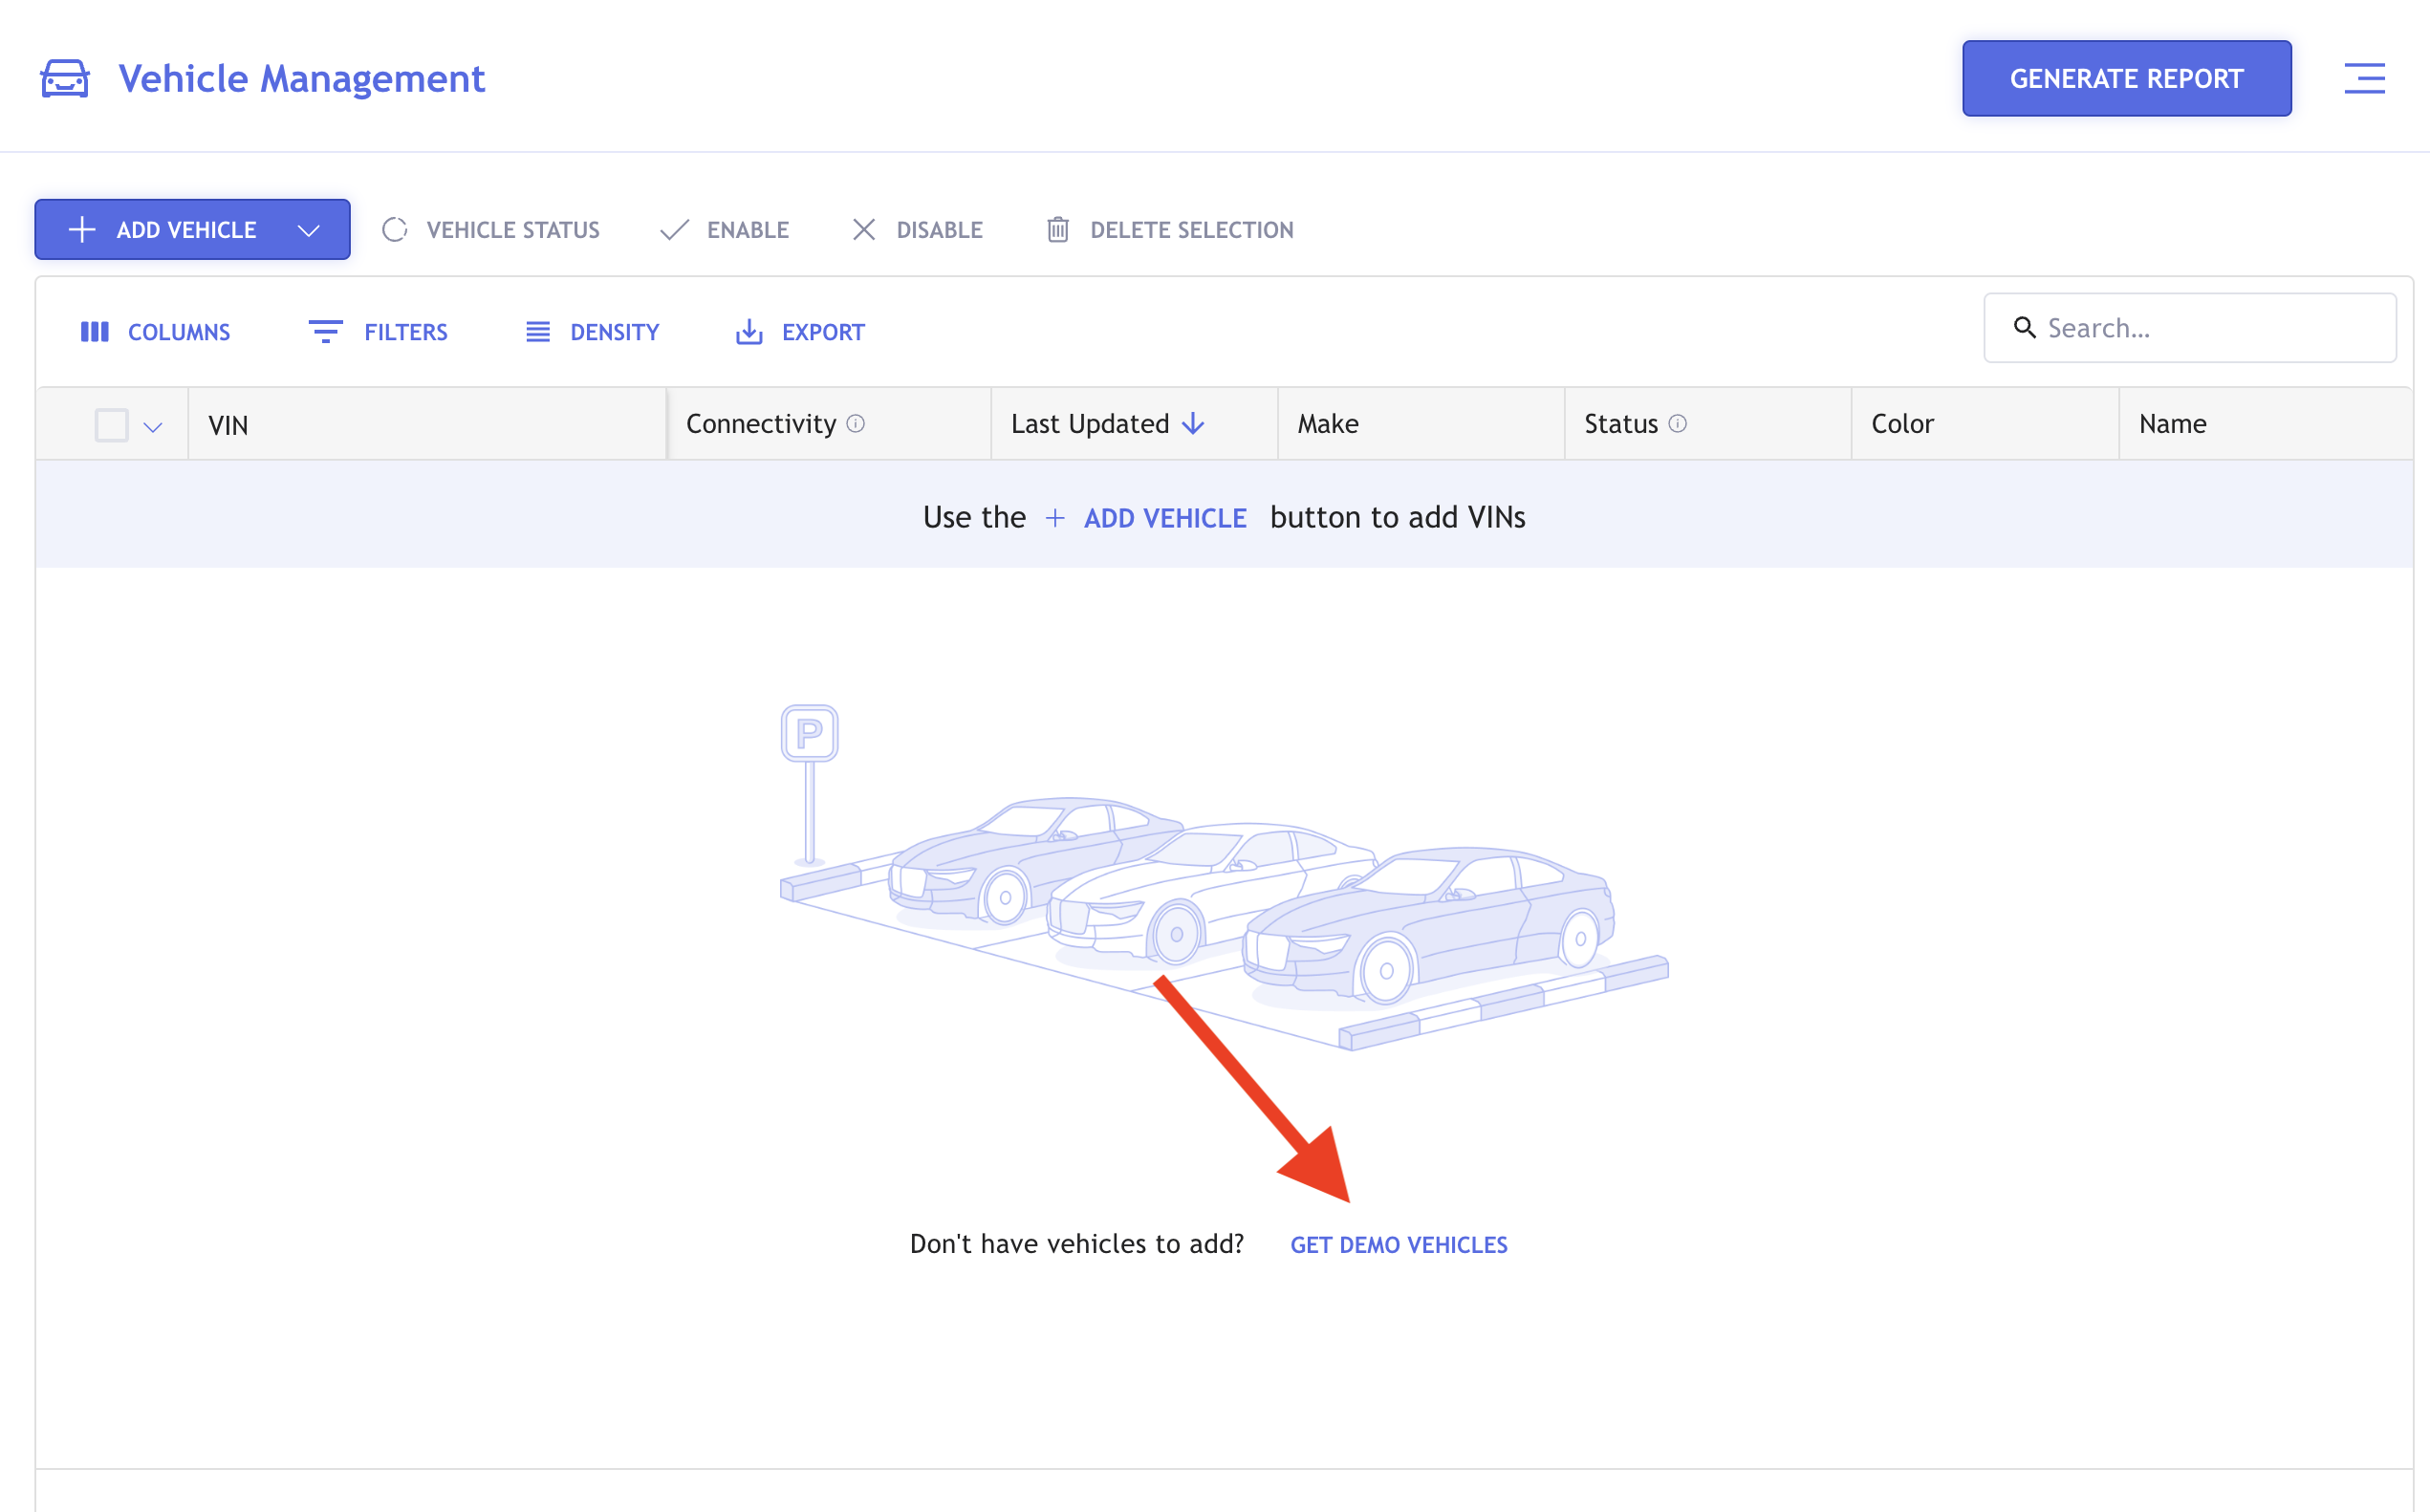
Demo Vehicles
Demo Vehicles can be added to a fleet in order to test the platform or your integration. These vehicles drive in a daily routine loop and their data can be access through all data consumption options.
To add demo vehicles to a fleet, either click on "Get Demo Vehicles" or on the "Add Vehicle" button within the selected fleet.
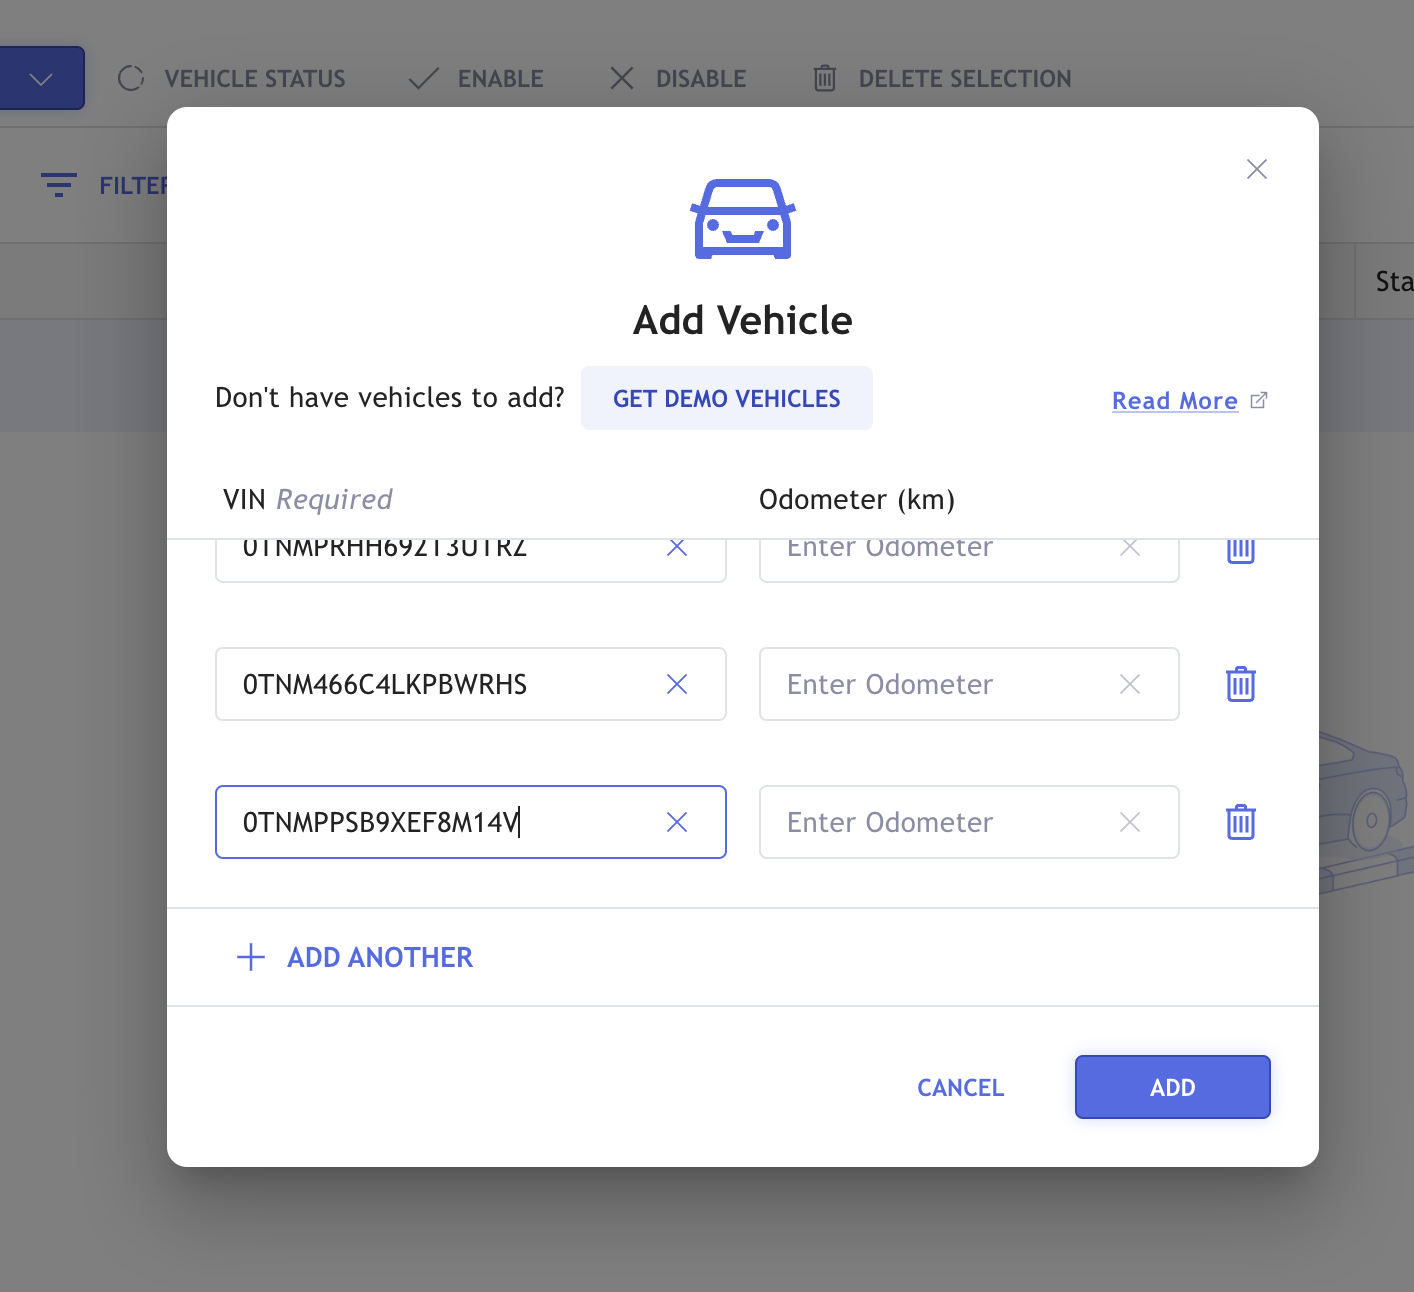
Then select "Get Demo Vehicles" in the "Add Vehicle" pop-up:
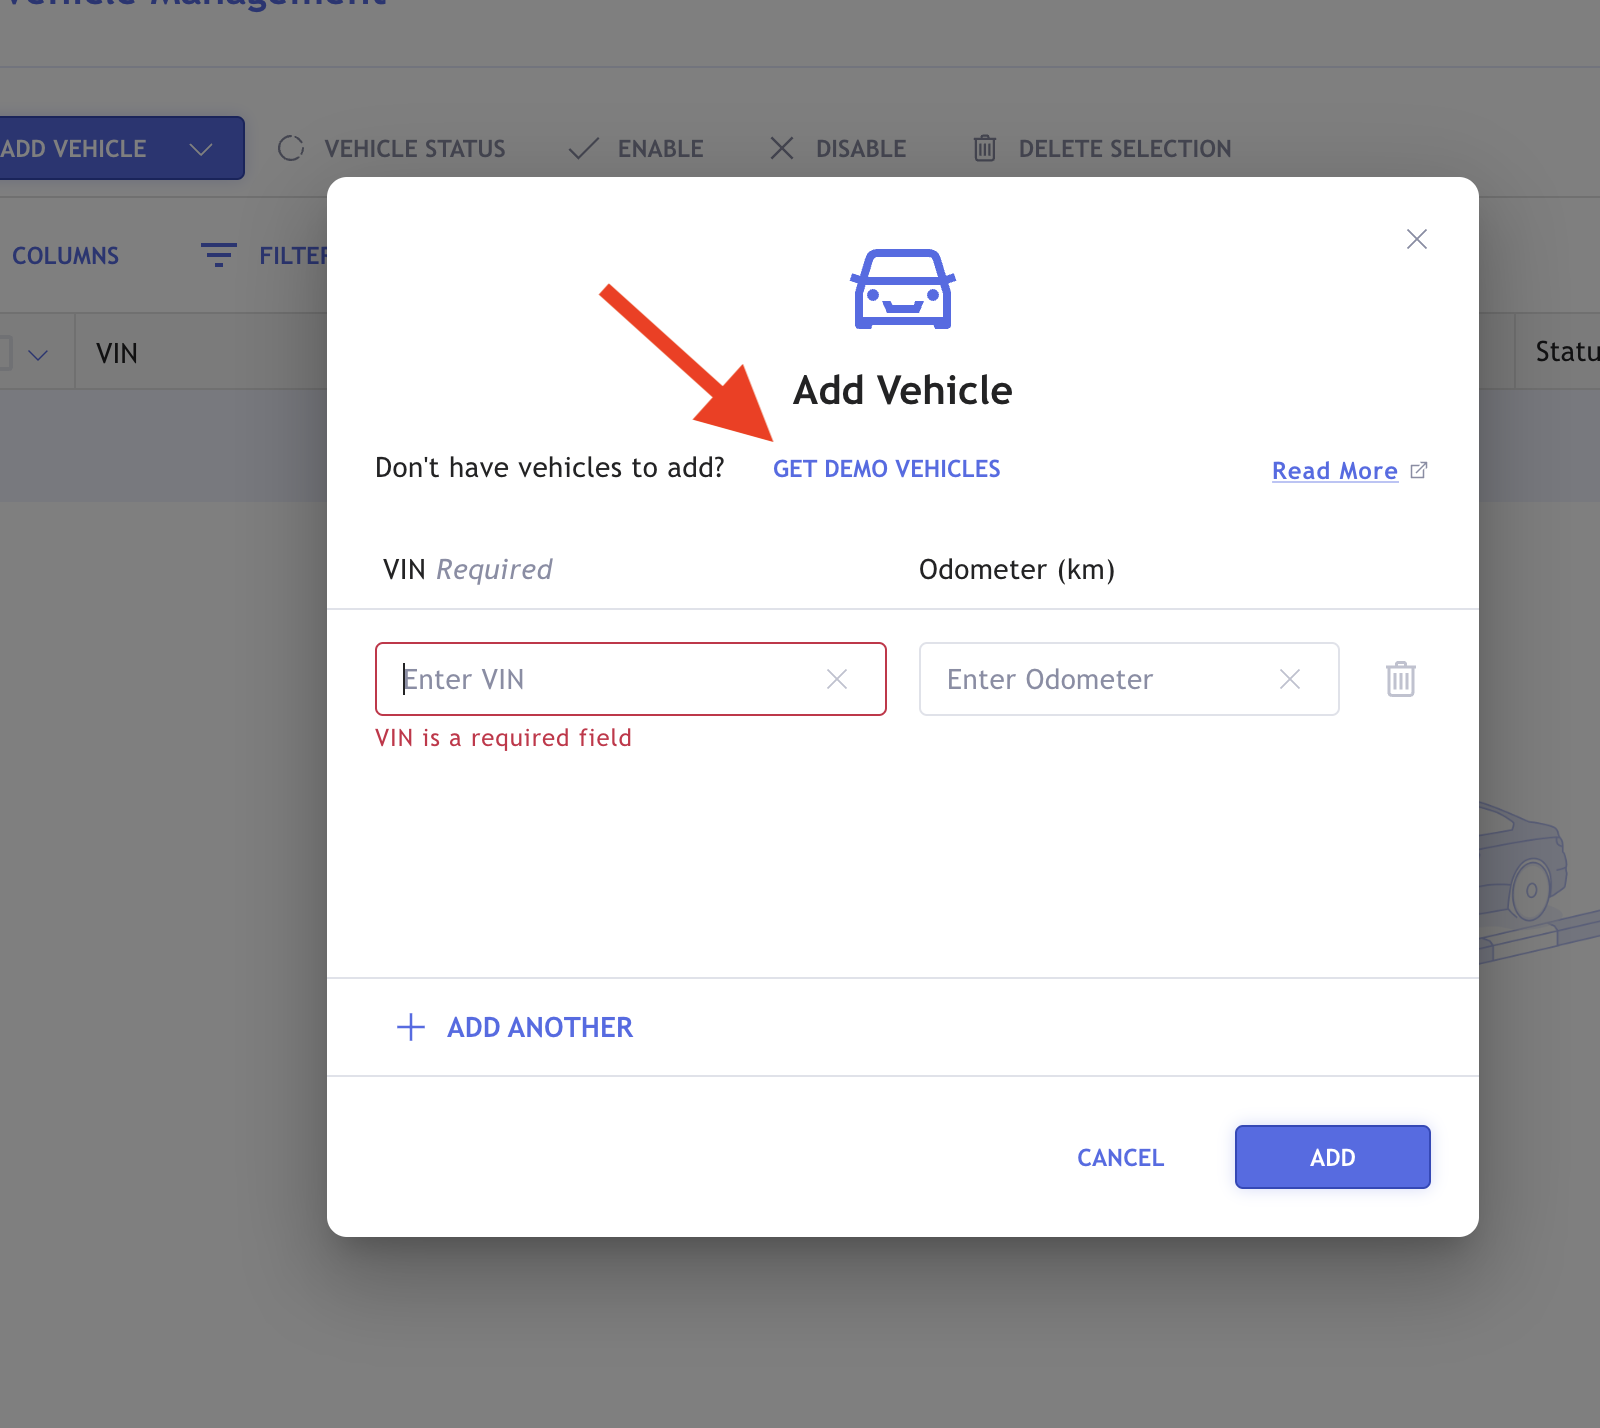
Finally, click "Add" and the demo vehicles will populate in the fleet and begin their simulated drive.
Simulator
The Simulator allows you to define specific routes for two simulated vehicles and test specific cases. To set up the Simulator press the "Run Simulated Vehicle" button:
Select the Vehicle type (Electric or Gasoline) and Start point / End point of the route. Then, press ‘Run Simulation’.
Note: The route for a simulated car is limited for 200 Km

Simulator details appear on the top right corner.
Select a Fleet in the dropdown so that the relevant attributes you selected will be reflected each time you ask for this vehicle status.
You can see that the vehicle starts moving from the start point to the end point.
Note: if you don’t select a Fleet, the “Get Vehicle Status” button will be disabled

When you click on “Get Vehicle Status” on the top left corner, the vehicle will provide the relevant attributes that have been defined for this Fleet. You can always go back to your Fleet and re-select new attributes, then make sure to refresh the simulator.
In case the “Get Vehicle Status” is not available, check that a Fleet has been selected
When you click on "Get Vehicle Status" you will get the timestamp and vehicle speed. Click on this line to see more attributes.

If you receive “No Driver Consent” instead of the vehicle status, make sure that the vehicle has been added to "Vehicle Management" tool, and its status is "Enabled". To add the vehicle, copy the VIN from the simulator page and add it like any other VIN to the relevant Fleet.

As with the demo vehicles, you can use the simulated vehicles to test all data consumption methods. If you'd like to the vehicle status APIs using this simulation, you may do so by copying the cURL command located on the right. Simply press the "copy" icon to copy and paste the command into your computer terminal.

Updated 11 months ago